samuel savigar

wrapped and ready to be delivered

wrapped and ready to be delivered

My work colleague and his wife have just added another to their number and he is called Samuel.

Samuel Jacob Savigar

Samuel Jacob Savigar

He joins their lovely little family along side Ellie and George.

IMG_8995

green for samuel

I was commissioned to do his cushion so that he has one the same as his older siblings and to go with his freshly decorated green & white bedroom.

stork delivery

stork delivery

Ellie’s cushion and bunting was a gift from me but George’s and Samuel’s were special requests.

cradled baby

cradled baby

My next job is to get bunting made for little Samuel as a gift from us. His sister and brother already have some so he needs to be the same.

tag and fastening

tag and fastening

Hopefully they will all be delivered next week.

Pooch Pouches

cosy cave

cosy cave

Ages ago, I spied a rather lovely dog bed with a flap on the top that meant the dog could climb underneath it for a little comfort & cover. We know terriers like to burry themselves and I think they were actually call Terrier Sacks (unfortunately that name conjures up all kinds of awful images of drowning puppies!!!).

hamlet heaven

hamlet heaven

It piqued an idea for a dog bed

keeping and eye on proceedings

keeping and eye on proceedings

With nothing more than a duvet (hypo allergenic in this case for Max’s skin) and a few metres of paw print fleece, I set about making my own version.

It couldn’t have been easier.

Max likes to get right inside and hide his face

Max likes to get right inside and hide his face

So for any one out there who might want to try the same, here it is in it’s most gloriously simple form.

Cut fleece and duvet to desired size (I based our JRT’s bed on about 700mm square)

You can either turn in raw edges of duvet along cut and zig zag edges (this is where I put the overlocking machine I have long lusted after back to the top of my wish list) or finish it with bias tape for a bit of extra rigidity

Sew up ends and sides of fleece (right sides facing) like a furry duvet cover

Attach duvet at each corner (still inside out – this will keep duvet from migrating in the wash)

Then turn right way (duvet is firmly fixed into corners so won’t have moved)

Turn in raw edges and hand sew the opening closed

Fold in half and hand sew the 2 side edges together (leaving end open for your pooch to clamber in)

it was chilly last night and this was hamlet and max mod of the evening

it was chilly last night and this was hamlet and max most of the evening

Eh voila!!

I love this old campaigner

I love this old campaigner

A Pooch Pouch that is snuggly and cosy when it is cold and drafty.

snuggly warm and sleepy after a lovely long walk

snuggly warm and sleepy after a lovely long walk

My sis’s JRT is on holiday with us at the moment so we couldn’t miss him out. He absolutely loves his, his old bones love being toasty warm and he gets to hide away from all the insanity of a younger model nearby.

and a blanket always helps

and a blanket always helps

I think it might have to go home with him when he goes back to Norfolk.

Instructions for making pooch pouch

Decide on the size you want for your dog (we chose 500 and 600mm square for the 2 sizes seen in the post)

Get your chosen fleecy fabric in measurements that are equal to 4 squares (I got fabric 1300mm wide so bought 2.5m for both beds) with an allowance for a little wastage on the selvedges etc.

Cut it to suit your chosen bed size (i.e. 2no pieces at 500mm x 1000mm for the small bed)

Sew then together (right side inside) along 3 of the sides leaving one of the 500mm sides open.

Turn it the right side out. You have a long fleecy sack that forms the covering of your pooch pouch.

Get a single lightweight hypoallergenic duvet per bed. You will need to cut this down so mark it up with your measurements (i.e. 500mm x 1000mm for the small bed or 600mm x 1200mm for the slightly larger bed)

Overlock (or zizag) along the edges of the duvet that will need trimming to achieve your dimensions

Fold it in half. Push it into the top of your fleecy sack with the fold at the open end of the sack.

This leaves half of your fleecy sack empty at the bottom. Secure the duvet to the open edge of the fleecy sack

Push the empty bottom part of your fleecy sack inside the folded duvet.

Secure the inside corners to the open part of the sack.

Hand sew your sack closed and voila. Your pooch pouch is born
sewing machine cover

my singer

my singer


My lovely vintage machine is never put away now that I am lucky enough to have a dedicated sewing space so it gets dust and the lint build up that you already get from sewing is worse for being out in the open all the time.


hemming the cover

hemming the cover


It’s original storage case is a big old rigid thing that is stored away out of sight and out of mind as it is more about transporting the machine rather than protecting it between uses.


Sooooo….


top stitching

top stitching


I scrabbled through my stash of fabrics to find something pretty but understated that would make a nice sewing machine cover. I don’t want to draw attention to the machine in the small room that I use for sewing, I want it to disappear a little.


This vintage Arthur Sanderson furnishing fabric has a very gentle yellow and turquoise floral print that I really like.


finished and fitted

finished and fitted


The measuring is easy as it is overall a rectangular shape that needs covering and although there are features that mean it is not an actual rectangle, a good fitting one would be perfect.


fitted straight after being made

fitted straight after being made

It is generally 45 x 35 x 25cm and could not have been easier to make.


pooch pin cushion

drawing up the cutting pattern

drawing up the cutting pattern


Ever since the Great British Sewing Bee’s Heather’s little pin cushion dog appeared on the last series, I have fancied one for myself.

Heather’s is very stylish and made in full 3-D so it really looks like a dog. His tape measure collar is particularly fabulous I think.


sewing the undercarriage to the body

sewing the undercarriage to the body


I wanted something a bit retro that was a cross between Gromit from Wallace and Gromit fame and our dog Max and although it needed to stand firm, I wasn’t too fussed about it being too realistic.

I sketched out what shape (at full size) I thought I wanted and made a pattern for a body with a central back seam and a 3-d underside so that there were 4 legs.


the ears need to be sewn inside the right side and all the seams notched

the ears need to be sewn inside the right side and all the seams notched


Tip – The base centre seam is where it will be stuffed but I like to sew this up first and iron the seam open. The reason I do this is to make sure that I get a nice neat and sharp join to hand sew at the end (I sew up to the gap I need from both sides and then do the gap in a larger stitch and don’t finish off the ends. That means I can pick it out easily when I turn it the right way for stuffing).


getting a nice share finish

getting a nice share finish


Getting a neat and even join where the base and top meet is tricky but if you are accurate with your sewing and don’t leave it short of where it needs to finish or over sew it, you should get the perfect join.


opening for the stuffing

opening for the stuffing


When all the seams are joined and you have your ears attached, unpick your base middle seam between the finished points (see tip above) and turn it the right way (your sharp ironed join will make sewing up at the end much easier and neater).

Push out all the corners and points like the nose and tail with a nice fat knitting needle or similar and start stuffing these extremities.


seam join at the rear where the legs and the body meet

seam join at the rear where the legs and the body meet


The stuff needs to be firm and so fill the pointy bits and the ends fully first before you start working your way back to the seam that needs sewing up.


nearly stuffed

nearly stuffed


I started with the tail, then the head, followed by each leg and finally the body. Be careful not to leave any loser cavities which might leave your legs floppy.


leg join at the underside of the chin

leg join at the underside of the chin


When you are happy with the stuffing and how tight it is, pin up the stuffing hole ready for sewing and stand your pin cushion up to check the fill and also to see that it stands straight. Now is the time to adjust the fill if you are not happy (it needs to be a very firm fill for the pins to slide into the body. Too lose and they dog will give way underneath).

Once it is stuffed it is ready to use or ready to decorate and finish as you see fit.


stuffed and ready to use or decorate

stuffed and ready to use or decorate


I wanted to see eyes and nose and a collar.


eyes nose and collar

eyes nose and collar


We have a JRT and he has a few spots on his back which made me think what a good idea to have one place to pop all your pins (Heather uses her dog’s head as well as his torso in Great British Sewing Bee).


pins on the spot

pins on the spot


Our JRT wears a red collar that would have looked very smart but I love the turquoise in my logo so a turquoise collar it had to be (when my tape measure becomes too tatty to use, I think he will get that too).


finished pin cushion pooch

finished pin cushion pooch


kindle case

kindle keyboard

kindle keyboard

I have a kindle keyboard that my husband bought me not long after they were first launched and I absolutely love it. I never thought I would be able to leave paperbacks behind but I have and I have never looked back.


new case lining

new case lining

I know the kindles have evolved and now have illuminated screens and colour and bells and whistles  but I’m happy with my old style black and white screen keyboard kindle. I have an iPad Air so if I want colour, the kindle App on there and I can have all the same books on that too if I need to.


But, the kindle is small and neat and it weighs nothing so I prefer to have that in my bag rather than the iPad and unless the battery has died, I pretty much have it with me everywhere I go.


detail

detail

Recently I started having problems with it crashing and it needed to be rebooted all the time. A little research on the internet revealed that the hard case that was bought with the kindle caused problems with the way it connects to the kindle and shorts it out. Eventually causing permanent irreparable damage.


No sooner read than the hard case was off and I’m very pleased to say that there hasn’t been a minutes trouble since.


button fastening

button fastening

So my poor little caseless Kindle needed some clothes.


I liked the cases I made for V’s birthday and I also liked the same black fabric I had used so off I went to measure up and make up my new kindle case.


tada!

tada!

It works a treat and I’m very happy with it.


On reflection, it probably doesn’t need the flap and it could simply be an open topped case perhaps with a button fastening over the top rather than a fastening flap but it fits perfectly and my kindle is now snuggled safely in it’s case in my bag ready for the next chapter of my current read.

Weekend Workspace

IMG_6996

I have long hankered for an out-of-the-way sewing space where we spend some of our weekends.

I now have a wonderful sewing space in our spare bedroom in London and it has spoiled me somewhat.

getting a little nourishment

getting a little nourishment

Our weekend dining table is pretty useful and it is right in the heart of what goes on in the house but it all has to be put away again at the end. It kinda puts you off a bit and I definitely do less at weekends when we are away than when we have weekends in London.

I have a spare sewing machine for here (well, I have a couple as it goes but I don’t say that out too loud in case JC is listening), I have sewing baskets and accessories that I have been given, found, inherited, car boot bought or had already so I’m set up in that respect.

The spare bedroom is out of bounds because we have people staying here loads and need it to be ready all the time.

set up in the alcove

set up in the alcove

But we do have little box room/bedroom (which is really only a glorified cupboard) that has become a dumping ground and somewhere for JC’s drum kit but it has 2 windows and gets lots of light so it is just about perfect.

I’ve had my eyes open for a little table to sit into the alcove in this room so that I could set up a tiny tucked away space. If I’m clever and don’t allow my workspace to spread, there will still be space to put up a single stow away bed for any extra bodies that might be staying at any given time.

In my search for a table, I have taken to dropping into a super little antique shop on Albert St in Spalding. (I think it is called The Attic) and is run by a very jovial chap called Jeff.  At my last visit, and on the back of a casual conversation about needing a small table has sorted it out; Jeff had the very thing on his van, just collected that morning and needing some attention.

my little Singer 221K set up and ready to use

my little Singer 221K set up and ready to use

It was cold having been in an unoccupied house so needed bringing up to temperature. It also needed cleaning and nourishing to bring out it’s best qualities. It has an all important drawer and was incredibly inexpensive.

It is now sugar soaped, waxed and in place. I haven’t managed to use it yet as my machine now needs some repairs but it is there and ready.

one of my mum's sewing tins

one of my mum’s sewing tins – I love it

I have plans for shelves above so watch this space.

Clothes Cloning

my joules tunic

my joules tunic

I went to a talk at Stroud Green WI last year that was about cloning your clothes. The talk was by Claire-Louise Hardie of Great British Sewing Bee fame and it tweaked at my old skills of pattern cutting and making my own clothes.

I keep threatening to do it again after years and years of filling my wardrobe with off the peg instead of unique made to measure items.

joules original and my clone behind

joules original and my clone behind

Inspired by Claire’s talk, I dug out a few items of clothing and all the tools that I hadn’t had occasion to use in a while.

I promptly set them aside when I got distracted by work, christmas, commissions and work again to name but a few.

It has sat for months and looked very like it would be condemned to my large pile of unfinished works.

almost identical - no zip, slightly smaller & pocket detail adjusted

almost identical – no zip, slightly smaller & pocket detail adjusted

Until last weekend.

I’d actually got around to making the pattern some time ago. I’d bought a dirty cotton drill remnant in my favourite little sewing shop (The Cloth Shop) in Market Hall of Wood Green Shopping City and had also cut it out (remembering to mark it up properly with fold lines, tucks, darts etc etc thank goodness).

neck detail - should have cleaned the lose thread off!!

neck detail – should have cleaned the lose thread off!!

The cloning process and the pattern making had gone quite well but I wasn’t convinced that I had got the slight shape and size changes I wanted to make quite right. It would be fine, the remnant was only £5 and if all else failed, I’d repurpose any disaster into something else entirely.

needs washing and ironing again but it fits

needs washing and ironing again but it fits

It only took me a few hours to assemble the various parts and it went much better than I expected. Even the dreaded sleeves eased into the holes with only a tiny unwanted crease.

pockets adjusted to hold my sewing bits and bobs while I work

pockets adjusted to hold my sewing bits and bobs while I work

It needs washing and ironing again but I’m delighted with my new sewing tunic that is cloned from a Joules tunic that I rather like.

Baby Isaac

duck detail

duck detail

My sis’s friend has had a little boy recently and they have named him Isaac.

I haven’t met him yet but by all accounts he is a super little chap.

isaac

isaac

His big sister, Alice adores him (of course!) and is very sweet with him.

Alice has a ladybird cushion that I made for her when she was born and it is kept on the chill out sofa at home where kids, dogs and everyone collect.

quack quack

quack quack

With that in mind, I thought little Isaac should be represented there too and have a cushion of his own. Also a little hello present from us.

think I should have ironed it though!!!

think I should have ironed it though!!!

It’s in the post and hopefully they will get it very soon.

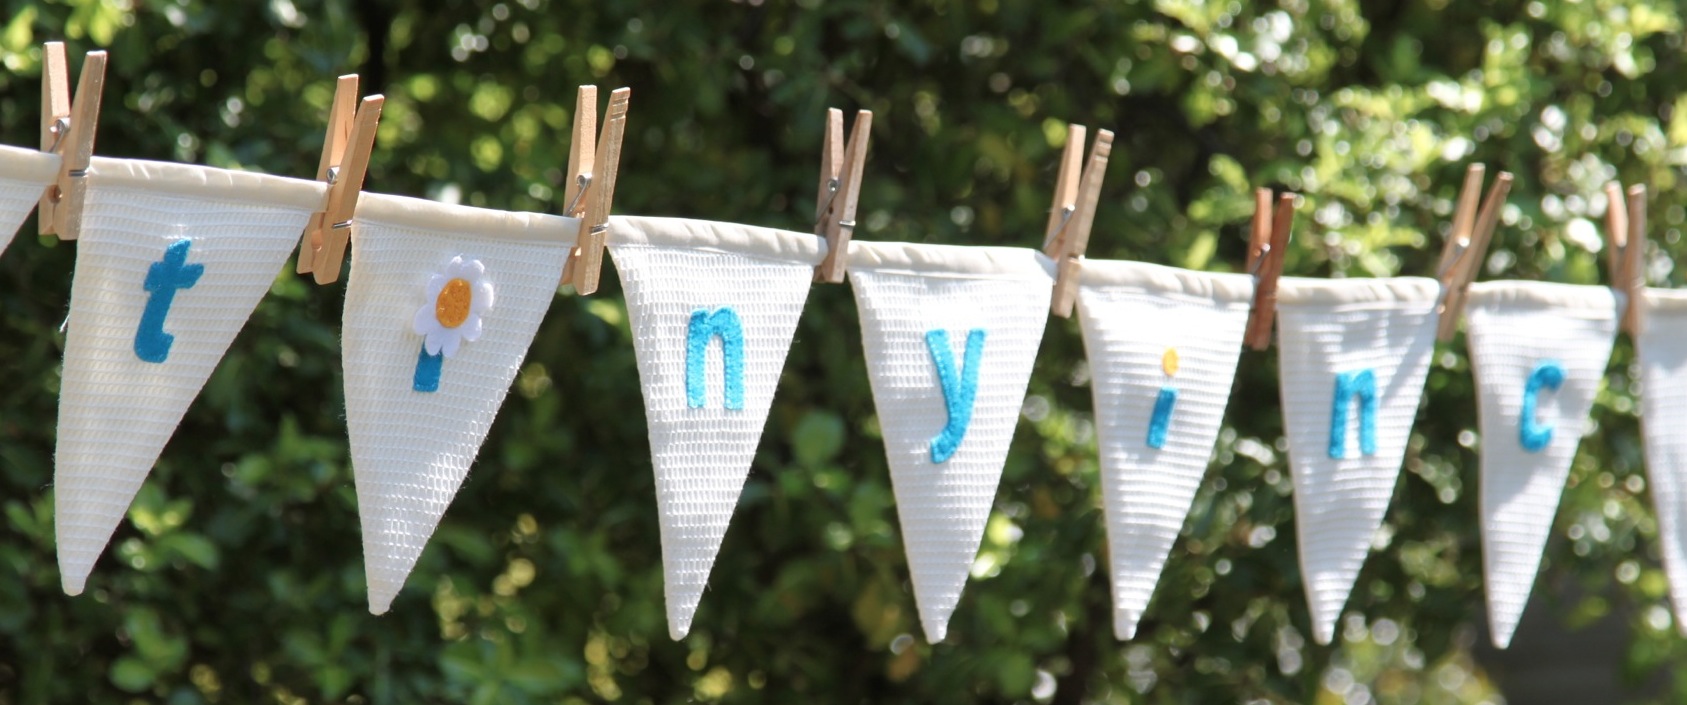
Lucy Bunting

letter flag

letter flag

Lucy is my sis’s step daughter and she has a cushion that I made which she uses when she visits dad.

completed lucy bunting

completed lucy bunting

The matching bunting is for her room there and it is her Christmas pressy from JC & I.

We will be spending Christmas with them and sharing their present opening and celebration which I am really looking forward to.

It is a little ahead of christmas but another one of my projects to finish is done.

letter flag

letter flag

Tick!!

flower cushion

scattered flowers cushion

scattered flowers cushion

This is one of my long awaited ‘to be finished’ projects and I have taken advantage of a quiet weekend to finally give it some attention. it is now finished and I’m pleased with the effect.

a bunch of flowers

a bunch of flowers

The idea had been floating around in my head for ages.

I loved the playful and pretty fun of the flower basket cushion I made ages ago and sold at Harringay Market for someone’s christmas present. I wanted to do something that was floral but less figurative and randomly dotted with flowers.

detail

detail

The fabric is a remnant from the curtain making lady that my friend Anna gets offcuts and roll ends from for me and the flowers are from pretty scraps left over from bunting and previous makes.

ready to appliqué

ready to appliqué

The flowers vary in size and style but it is very jolly and reminds me of the summer as we settle into the dark evenings and mornings of autumn.

Anyway, I’m off to take advantage of the quiet and finish a few more bits!!